Documentation Index
Fetch the complete documentation index at: https://support.snowie.ai/llms.txt
Use this file to discover all available pages before exploring further.
Overview
After clicking Create Agent, you will be guided through the configuration wizard. This process is divided into 5 distinct stages to help you build, refine, and deploy your assistant.Prompt Lab
The Prompt Lab is the “brain” of your agent, where you define its personality, rules, and objectives.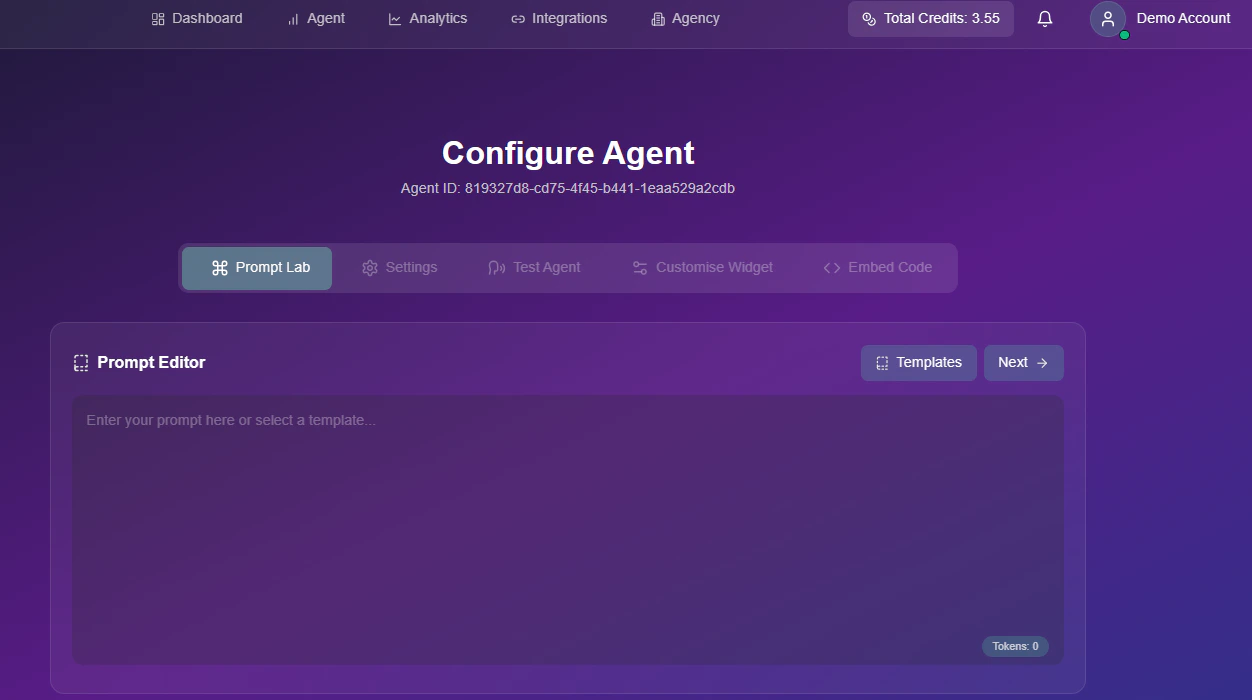
Video Guide: Writing Prompts
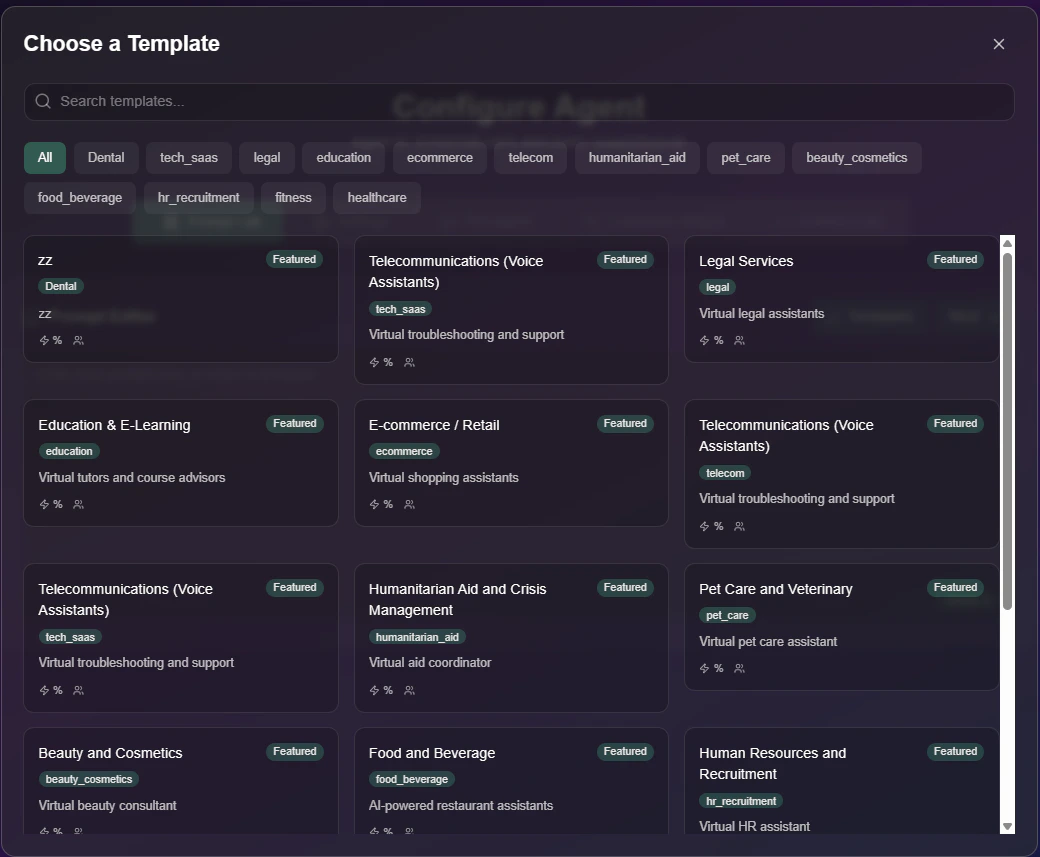
Watch a quick guide on how to structure your prompts for the best results.Using Templates
Click the Templates button to jumpstart your build with pre-built personas for industries like Dental, Legal, and Real Estate.Technical Settings
Once your prompt is ready, configure the technical behavior and knowledge base of your agent.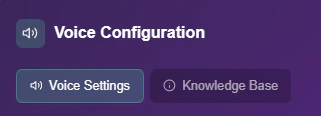
Voice Settings
Configure voice models, phone numbers, and function calling.
Knowledge Base
Upload files or scrape websites to train your agent.
Test Agent
Before going live, use the Test Agent simulator to interact with your agent directly in the browser.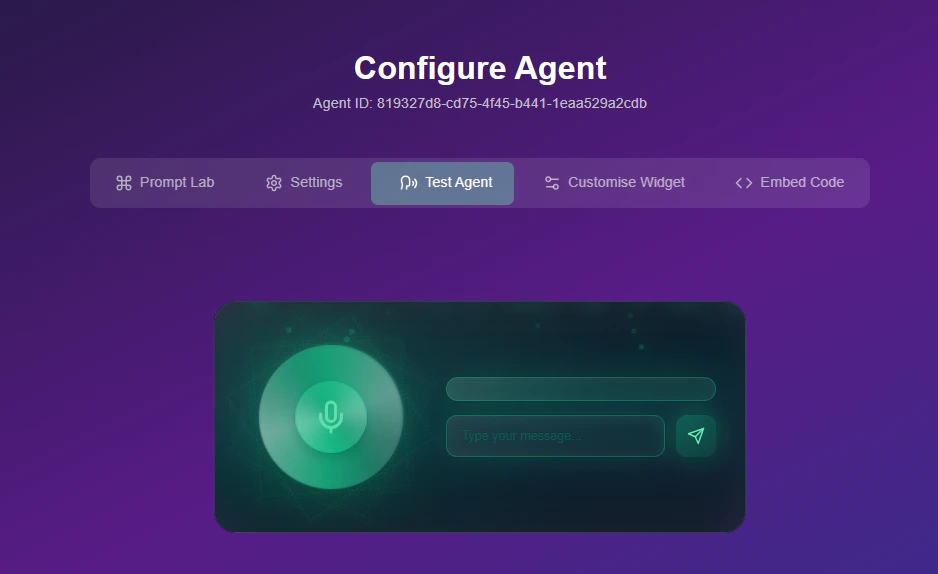
- Real-time Interaction: Click the mic icon to start a conversation.
- Live Transcript: Monitor the transcript to ensure your agent understands your intent correctly.
Customise Widget
(Optional) Personalize the chat bubble for your website deployment.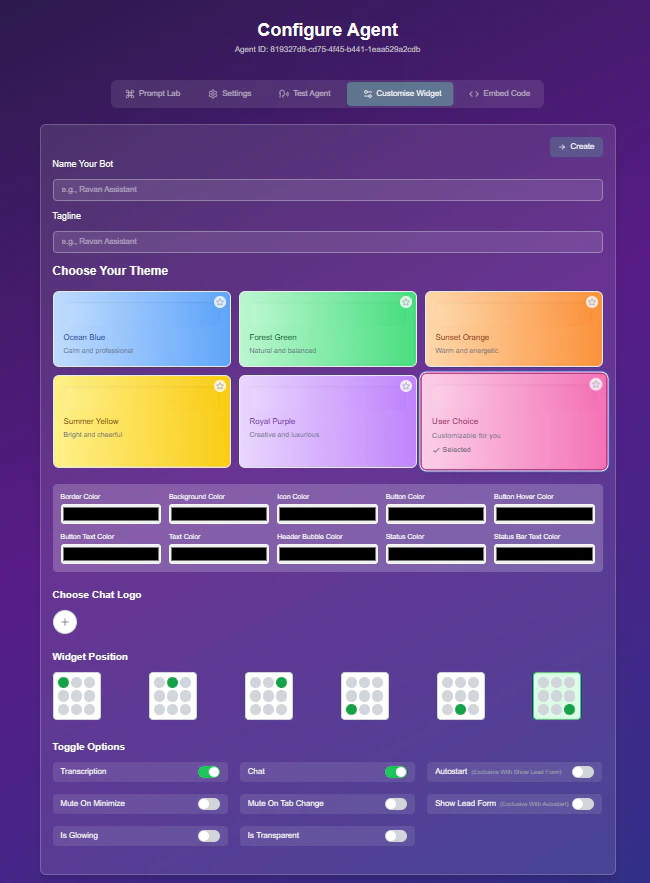
Video Guide: Widget Customization
Learn how to brand your chat bubble and configure lead capture forms.- Visuals & Branding
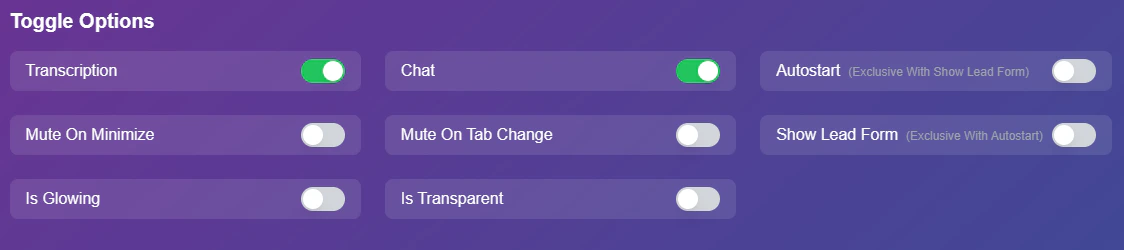
- Behavior Toggles
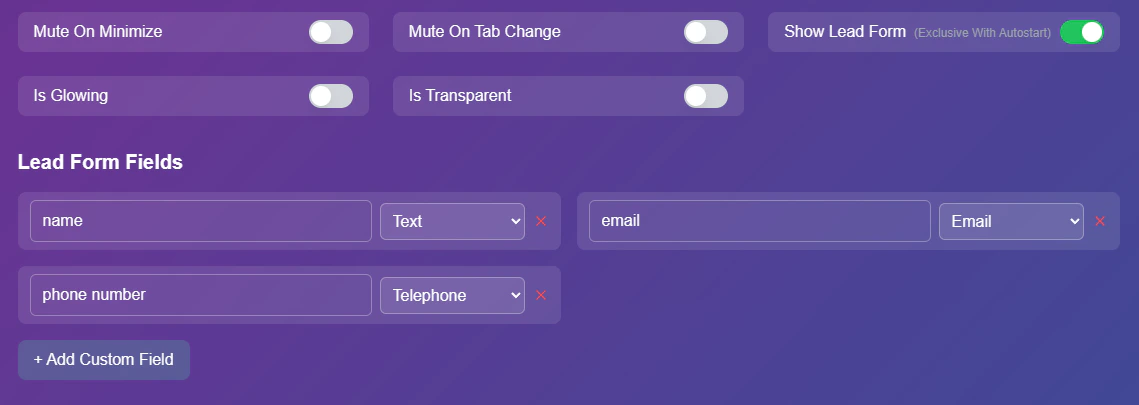
- Lead Capture
- Branding: Adjust colors and logos to match your brand identity.
- Welcome Message: Set the initial greeting users see.
Deployment
The final step is adding the agent to your digital environment.
Video Guide: Embedding Your Agent
Watch how to generate your script and add it to your website.- Copy Code: Click the Copy button to grab your unique script.
- Paste to Site: Add the snippet to the
<body>or<head>section of your website’s HTML.